
Safely Clean Your Mechanical Keyboard with a 6-in-1 Vacuum
 Daniel OkaforField Tester
A mechanical keyboard is an investment in precision and comfort. But over time, dust, crumbs, and hair get trapped beneath the keys, leading to sticky switches and a less satisfying typing experience. Keeping your keyboard clean is essential for performance and longevity. This guide shows you how to safely deep clean your mechanical keyboard using the specialized tools of the 6-in-1 Portable Vacuum to protect its delicate components.
A Step-by-Step Guide to Cleaning Your Keyboard
Follow these steps for a thorough clean that restores your keyboard's feel and function.
Step 1: Preparation First, unplug your keyboard to prevent any electrical shorts. Gather your tools: a keycap puller and your 6-in-1 Portable Vacuum with its brush and crevice attachments. Working on a clear, flat surface will help you keep track of all the small parts.
Step 2: Remove the Keycaps Use a wire keycap puller for the safest removal. As noted by experts at PCWorld, you should gently hook the puller under opposite corners of a keycap and pull straight up. Plastic ring pullers can scratch the sides of your keycaps, so a wire puller is preferred. Place the keycaps in a bowl to the side.
Step 3: Vacuum the Keyboard Plate With the keycaps removed, you'll see the keyboard's switch plate, likely covered in debris. This is where the 6-in-1 Portable Vacuum excels. Attach the brush nozzle to gently agitate and lift stubborn dust from between the switches while the powerful suction removes it completely. Unlike compressed air that just blows debris deeper into the keyboard housing, the vacuum captures it for good. Its precision attachments make it an ideal mini vacuum for keyboard and desk cleaning sessions.
Step 4: Clean the Keycaps While the vacuum is designed for the keyboard's electronic base, your keycaps can be washed separately. Place them in a bowl of warm water with a small amount of dish soap. Let them soak, then rinse thoroughly and lay them out on a towel to air dry completely. Ensure they are 100% dry on the inside before reattaching them.
Step 5: Reassemble and Final Touches Once the keycaps are dry, press them back onto the correct switches. If you're unsure of the layout, it's helpful to take a photo before you begin. The versatility of a good 6 in 1 travel vacuum cleaner means you can use it for your entire desk setup, as its various functions can easily tackle workspace dust on monitors, speakers, and other peripherals.
Frequently Asked Questions
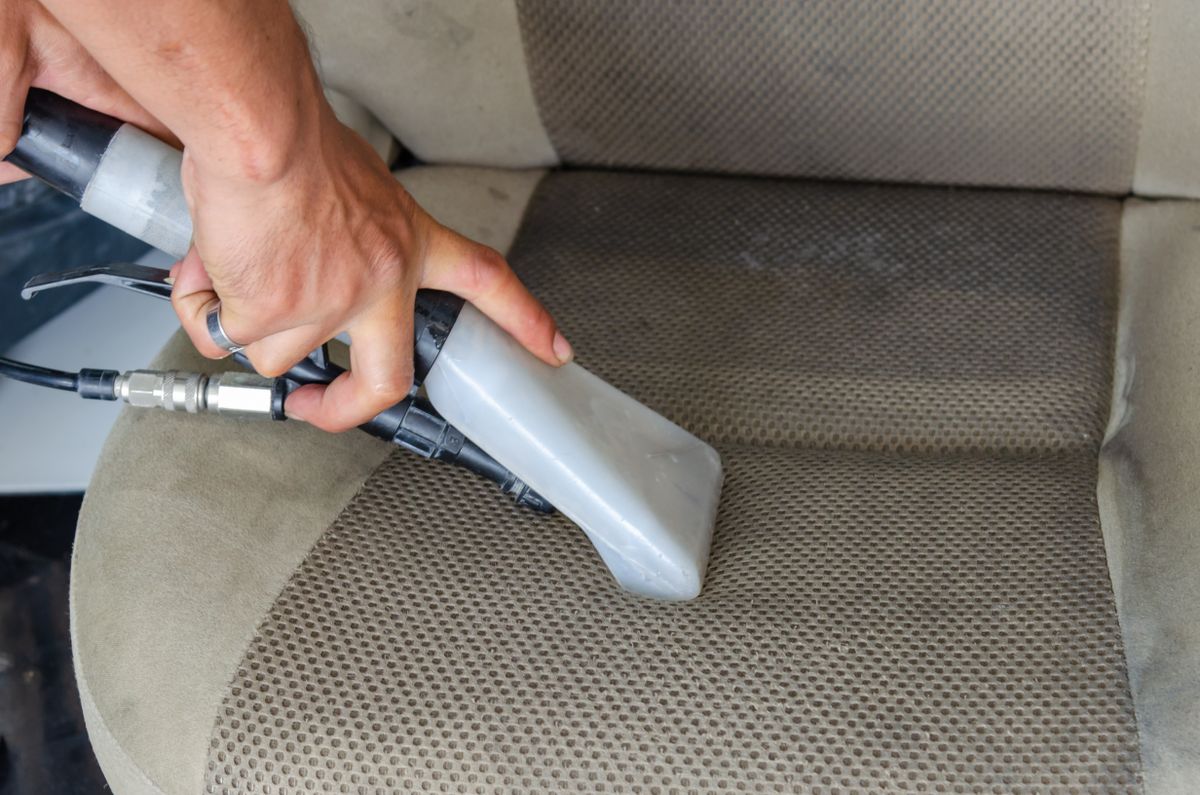
Photo by Khunkorn Laowisit on Pexels
How often should I clean my mechanical keyboard?
A quick surface clean with the 6-in-1 Portable Vacuum is recommended weekly to manage surface dust. A deep clean, including removing the keycaps, should be done every 3 to 6 months, depending on usage and your environment, to prevent performance issues.Is the 6-in-1 Portable Vacuum safer than compressed air?
Yes. The 6-in-1 Portable Vacuum provides controlled suction and blowing without the risk of propellant liquid discharge that can damage electronics. It physically removes debris from your workspace instead of just relocating it, offering a more effective and sustainable cleaning solution.