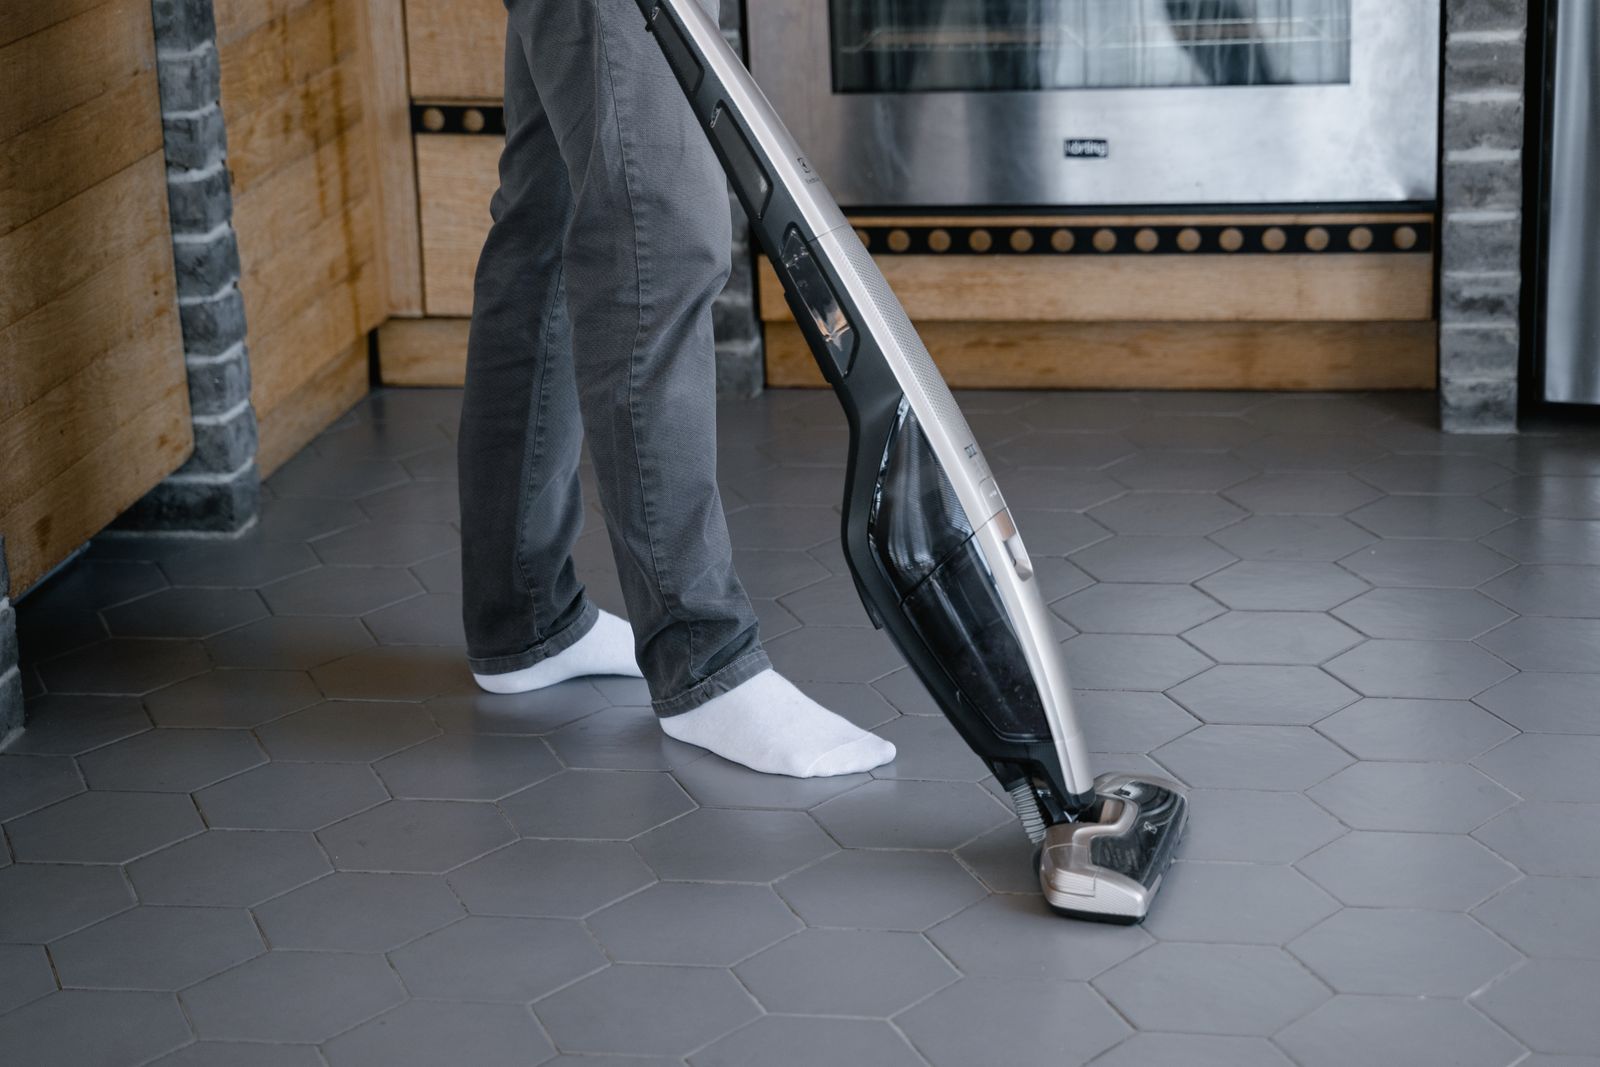
Handheld Vacuum Maintenance Guide: Bin, Filter & Nozzle Care
Follow the 3-5-24 rule: empty the 0.81 lb vacuum's dirt bin every 3 uses, rinse the washable HEPA filter under cold tap water every 5 uses, and allow exactly 24 hours of ambient air-drying before reassembly. Operating with a wet filter damages the high-speed 50,000 RPM motor and drops suction efficiency below 19,000Pa.
Essential Maintenance Highlights
- 3-5-24 Maintenance Rule: Empty bin after 3 cleaning runs, wash HEPA filter every 5 uses, and air-dry for 24 hours.
- 19,000Pa Suction Protection: Clogged 0.3-micron HEPA fibers create motor back-pressure, reducing lift performance by up to 60%.
- 50,000 RPM Motor Safety: Never reinstall a damp filter; internal moisture causes electrical shorting and voids product warranties.
- 0.81 lbs Ultra-Light Housing Care: Wipe clear acrylic dirt bins with plain water or damp microfiber; never use harsh alcohol or acetone solvents.
- 6-in-1 Nozzle Optimization: Clear air duster ports and micro-crevice nozzles after every pet hair or heavy car detailing session.
Master Handheld Vacuum Care Checklist
Photo by Tima Miroshnichenko on Pexels
- Power off unit and disconnect USB charging cable.
- Twist and release transparent dirt bin over garbage receptacle.
- Gently tap HEPA filter against bin inner wall to release dry dust build-up.
- Flush HEPA filter from inside out under low-pressure cold tap water.
- Shake off excess moisture and place upright in warm, dry area for 24 hours.
- Inspect rubber gasket seal for fine debris before re-attaching bin.
- Wipe see-through bin interior with dry microfiber cloth.
- Verify smart display turns solid green upon charge completion before storing.
Printable Quick-Care Reference Sheet
- EMPTY BIN: Every 3 sessions or when dirt reaches 50% capacity line.
- FLUSH FILTER: Every 5 sessions using lukewarm/cold tap water from inside pleats outward.
- DRY TIME: 24 full hours minimum on an absorbent towel; never apply hair dryer heat.
- NOZZLE CHECK: Clear lint and hair build-up from 6-in-1 crevice and air duster nozzles weekly.
- SMART DISPLAY: Re-charge unit when battery indicator drops; disconnect after solid green light appears.
Pro Tip: Reverse Air-Duster Purging
Before getting your washable HEPA filter wet, utilize the reverse blow feature of your 6-in-1 portable unit. Attach the air duster nozzle to the rear exhaust port and direct a short burst of air through the dry exterior pleats of the HEPA filter into a trash receptacle. This knocks loose up to 80% of fine 0.3-micron particulate matter before water contact, preventing micro-dust from turning into a thick sludge inside the deep filter pleats.
Suction & Maintenance Troubleshooting Matrix
| Symptom | Root Cause | Immediate Fix | Preventive Action |
| --- | --- | --- | --- |
| Suction drops below normal 19,000Pa power | Clogged HEPA filter pleats or full dirt bin | Empty dirt bin and dry-tap HEPA filter pleats against trash canister rim | Empty clear bin every 3 uses; clean filter every 5 uses |
| Musty odor during operation | HEPA filter reinstalled before 24-hour drying finished | Remove filter immediately, wash in cool water, and air-dry for full 24 hours in ventilated area | Always keep a secondary spare HEPA filter on hand during drying cycles |
| Motor high-pitched whining noise | Blockage in 6-in-1 narrow crevice nozzle or duster port | Power off unit, remove attachment, and clear hair/debris pin locks using pipe cleaner | Inspect attachment ports before each high-power cleaning pass |
| Smart display fails to show green charge icon | Debris in USB-C charging port or loose cable connection | Blow clean compressed air into charging port and re-seat cable firmly | Store vacuum in dry storage pouch when not actively charging |
Diagnose common mechanical issues, loss of suction, and indicator signals with these verified troubleshooting fixes.
Keep Baseline Performance Intact
To prevent downtime while your main filter undergoes its mandatory 24-hour air-dry cycle, keep a spare factory filter ready. Maintain full 19,000Pa suction power across your car, home, and workspace without missing a beat.
Recommended Equipment & Replacement Care Packs
Ensure your portable 6-in-1 vacuum maintains its original factory specifications with certified replacement components.
Usage-Based Maintenance Intervals
Photo by MART PRODUCTION on Pexels
- After Every 1-3 Uses — Detach see-through dirt bin, empty dry debris, and check air intake seal gasket for trapped hair.
- Every 5 Uses (or Weekly) — Perform reverse air-duster purge on HEPA filter, rinse filter pleats under cold tap water, and air-dry for 24 hours.
- Monthly Inspection — Inspect 6-in-1 nozzle attachments for crack damage, wipe acrylic bin interior with damp cloth, and verify smart display LED function.
- Every 4 to 6 Months — Replace washable HEPA filter entirely if pleats show fiber breakdown or suction remains under 70% after washing.
5 Destructive Care Errors to Avoid
Avoiding these critical maintenance mistakes will protect the internal 50,000 RPM motor core and ensure long-term structural integrity.
24-Hour HEPA Filter Wash & Dry Sequence
- Hour 0: Cold Water Rinse — Rinse HEPA filter from inside out with cold tap water until runoff water runs completely clear.
- Hour 1: Moisture Removal — Gently flick filter over sink to dislodge surface water droplets. Do not squeeze or wring the pleats.
- Hours 2–18: Ambient Drying — Place filter upright on a clean paper towel in a well-ventilated room at room temperature (68°F–75°F).
- Hour 24: Reassembly Verification — Touch inner paper pleats and outer rubber gasket to confirm 100% dry state before reassembly into the 0.81 lb main housing.
Next Steps: Establishing Your Routine
Outline post-maintenance checks and logical follow-up guides.
Frequently Asked Questions
Address specific edge-case user queries regarding filter care and chemicals.