How to Maintain Strong Suction and Clean Filters After Detailing Car Crevices
Apply the 24-hour drying rule: after every 3 to 5 heavy detailing sessions, rinse your washable HEPA filter in cold water and air-dry for a minimum of 24 full hours before reassembly. Between wet washes, clear trapped 0.3-micron silt after every use by tapping the filter housing and utilizing your vacuum's 50,000 RPM reverse air duster mode to blow out fine pleat dust without using water.
Key Maintenance Rules for Post-Detailing Suction
- 19,000Pa Suction Preservation: Fine sand and micro-silt reduce suction by up to 45% if left embedded in HEPA pleats after crevice cleaning.
- 0-Minute Dry Cleaning: Use the 50,000 RPM reverse air duster feature after every job to blow out 0.3-micron particles instantly without wet washing downtime.
- Strict 24-Hour Water Drying: Running a vacuum with even 1% moisture in the filter pulls micro-sludge directly into the high-speed motor turbine, risking total motor failure.
- 0.81 lbs Ergonomic Care: Inspect rubber O-ring gaskets during every cleaning; a single sand grain under the seal drops vacuum pressure significantly.
- 3 to 6 Month Filter Lifecycle: Replace washable HEPA filters after 3–6 months of regular use or whenever pleat fibers show visible wear or tears.
Post-Crevice Detailing Maintenance Checklist
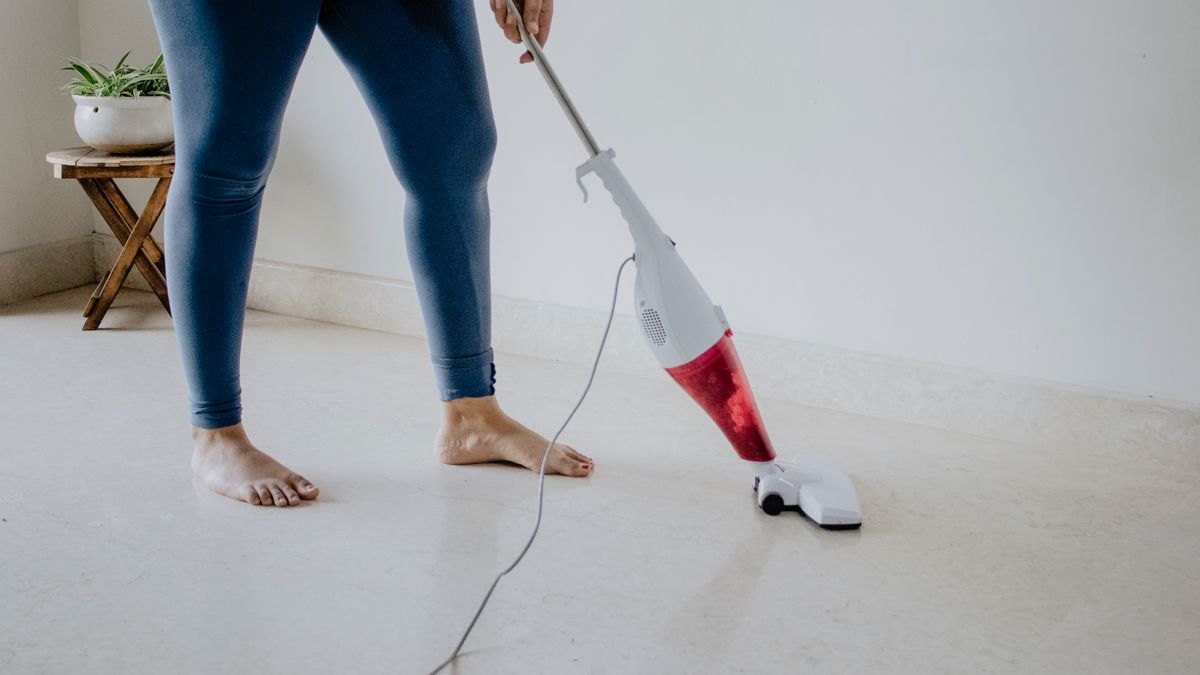
Photo by Vivaan Rupani on Pexels
- Power off the 0.81 lb handheld vacuum and detach all crevice, brush, or hose attachments.
- Hold the unit over a trash bin and press the one-touch dirt release catch to dump bulk debris.
- Twist and unlock the see-through dirt bin from the main 50,000 RPM motor housing.
- Gently extract the inner HEPA filter core from the dust cup assembly.
- Tap the outer plastic rim of the filter against the inside rim of a waste bin to dislodge loose sand and crumbs.
- Switch the unit to air duster mode (or use a secondary air nozzle) and direct high-velocity air from the clean inner side of the filter outward to expel trapped 0.3-micron silt.
- If organic residue, sticky spills, or pet dander film are present, rinse the HEPA filter under cold running tap water (do not use dish soap or hot water).
- Thoroughly shake off excess water droplets and place the filter upright on an absorbent towel in a warm, ventilated space for at least 24 hours.
- Wipe down the inside of the see-through dirt cup and inspect the perimeter rubber sealing ring for trapped sand grains.
- Inspect crevice nozzles and detail brush bristles for wrapped hair or carpet fiber lint; remove using fine tweezers or a detail comb.
- Reassemble all dry components, lock the dirt bin into position, and perform a 5-second suction test before storing.
Quick Printable Cleaning & Care Reference
- EVERY USE: Dump dirt bin + tap HEPA filter rim against trash can.
- POST-SAND/CREVICE WORK: Perform 30-second reverse air duster blowout through HEPA pleats.
- EVERY 3–5 USES: Cold water rinse (NO soap, NO hot water) + 24-hour complete air dry.
- SEAL CHECK: Wipe rubber gasket clean—sand on seals destroys 19,000Pa vacuum hold.
- NEVER: Install a damp filter or use wire brushes on delicate filter pleats.
Expert Technique: Reverse Airflow Blowout Hack
Standard filter maintenance usually relies on tapping the filter against a trash can. However, mechanical tapping only dislodges heavy sand grains while compacting micro-silt deeper into the synthetic fibers of a HEPA membrane.
To clear sub-micron dust without waiting 24 hours for a water wash to dry, take advantage of 6-in-1 dual-mode functionality. Attach the narrow air duster cone nozzle to the rear exhaust port of your handheld unit. Holding a second, dirty filter (or holding the filter over a bin), direct the pressurized 50,000 RPM exhaust airflow from the clean interior side of the filter facing outwards.
This reverse airflow technique instantly pops trapped 0.3-micron silt out of the pleats in seconds, completely restoring your 19,000Pa airflow rate without exposing the filter membrane to liquid or stress.
Post-Detailing Suction Drop Troubleshooting Matrix
| Symptom | Root Cause | Actionable Fix |
| --- | --- | --- |
| Suction drops by 50% or more despite an empty dirt bin | Micro-sand and fine dander compacting deep within HEPA filter pleats | Perform a 30-second reverse air duster blowout. If suction is not fully restored, rinse filter in cold water and air-dry for 24 hours. |
| High-pitched whistling sound during operation | Air leak around the dirt cup seal or misaligned HEPA filter gasket | Remove dirt cup, wipe fine sand off the rubber O-ring gasket with a damp microfiber cloth, and snap-lock securely back onto motor body. |
| Vacuum motor shuts off automatically after 2–3 minutes | Thermal protection switch triggered due to airflow restriction | Power down unit. Clear clogged crevice nozzle tip and blow out blocked HEPA filter. Allow battery/motor to cool for 15 minutes. |
| Dust particles blowing out of the rear exhaust vent | Torn HEPA pleat or misseated internal filter membrane | Inspect filter pleats under light for micro-tears. Re-seat filter securely; replace filter immediately if pleat wall is punctured. |
If your portable car vacuum exhibits lower suction, unusual motor pitch, or thermal cutout after a heavy crevice cleaning session, use this matrix to diagnose and resolve the issue quickly.
Essential Maintenance Accessories & Replacement Parts
To maintain uninterrupted detailing capability, keep official replacement filters on hand so one filter can undergo a full 24-hour dry cycle while you continue cleaning.
Suction Preservation Maintenance Schedule
- After Every Detailing Session — Empty the see-through dirt bin. Tap loose debris from HEPA filter housing. Perform a quick visual check of the air inlet nozzle.
- Every 3 to 5 Heavy Cleaning Cycles — Execute a reverse air duster blowout. Rinse HEPA filter thoroughly in cold running water. Air-dry upright for 24 hours.
- Monthly (or After Beach/Desert Detailing) — Wash dirt cup and plastic nozzle attachments in warm soapy water. Inspect rubber sealing ring gaskets for fine grit accumulation.
- Every 3 to 6 Months — Replace the HEPA filter core with a fresh unit to maintain maximum 19,000Pa static lift and micro-particle filtration.
4 Critical Mistakes That Destroy Micro-Vac Motors
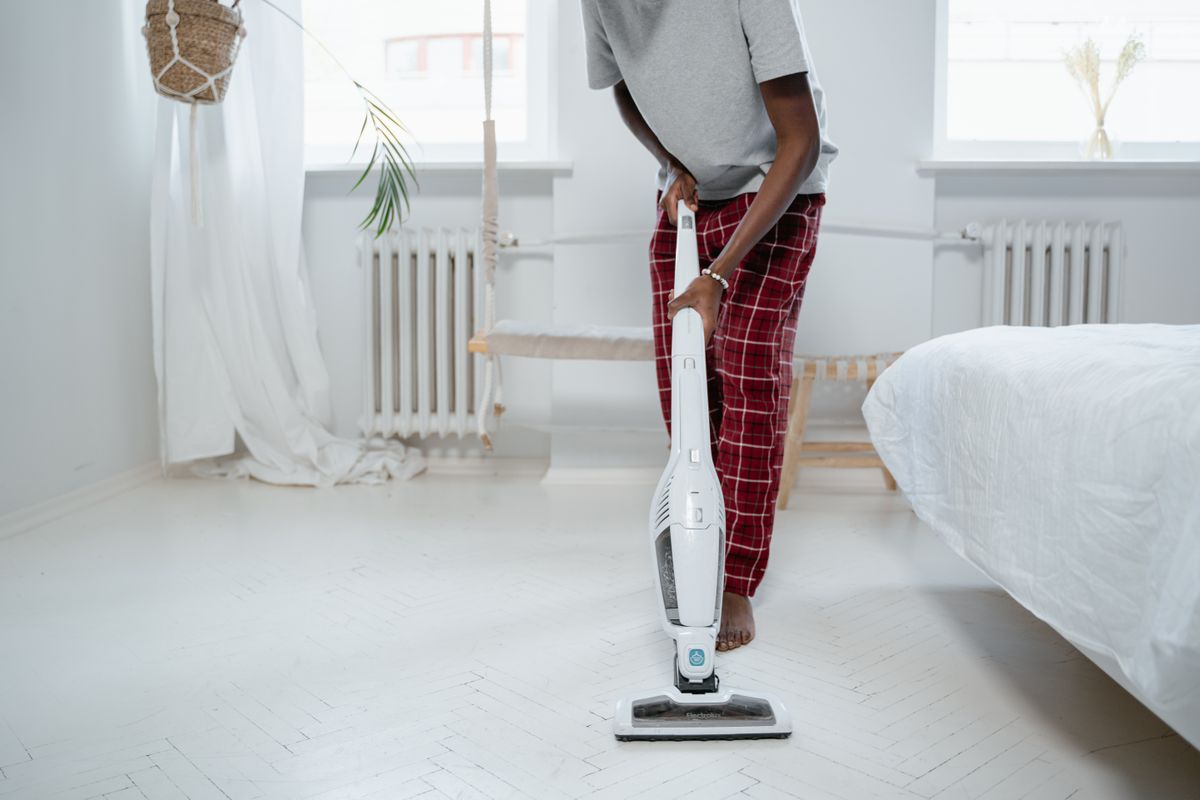
Photo by MART PRODUCTION on Pexels
Avoid these common maintenance errors that compromise airflow, ruin internal seals, or cause premature motor failure.
Filter Lifespan & Drying Timeline Breakdown
- 0 to 2 Minutes — Post-cleaning dry dust tap and dirt cup emptying process.
- 2 to 5 Minutes — Cold water wash cycle for dirty HEPA filters and plastic dirt cups.
- 12 Hours — Midway drying mark. Outer plastic frame is dry, but inner HEPA pleat cores still retain unseen moisture.
- 24 Hours — Full drying complete. HEPA pleats are 100% dry and safe for 19,000Pa high-suction reassembly.
- 90 to 180 Days — Standard filter lifecycle horizon; replace HEPA element to ensure peak efficiency.
Frequently Asked Questions About Handheld Vacuum Suction Care
How often should I wash the HEPA filter on my portable car vacuum?
Dry dust and sand should be tapped or blown out after every single use. Full water washing should occur every 3 to 5 heavy detailing sessions, or whenever you notice suction dropping despite an empty dirt bin.
Can I use my portable vacuum immediately after washing the filter?
No. Running the vacuum with even a slightly damp filter forces moisture into the high-speed 50,000 RPM motor, causing severe internal rust, electrical shorts, and complete suction loss.
How do I know if my HEPA filter needs replacement instead of washing?
Replace your filter if you observe visible tears or fraying in the pleats, persistent sour odor even after 24 hours of drying, or a failure to restore full suction after a thorough wash (typically after 3 to 6 months of regular use).
Is it safe to clean crevice nozzles and brush attachments with water?
Yes. All plastic crevice nozzles, air duster cones, and brush tools can be washed in warm, soapy water. Ensure they are completely air-dried before reattaching them to the main power housing.
Next Steps After Cleaning Your Filter
Your decision: Determine whether your HEPA filter requires a quick 30-second dry blowout or a full 24-hour wet wash based on recent debris exposure.
Do this next: Perform a 2-minute reverse air blowout after today's detailing session. If suction remains below 100%, execute a full cold-water rinse and set the filter upright to air-dry for 24 hours.
- Read next: Why Is Your Portable Vacuum Losing Suction Power? Causes and Quick Fixes
- Read next: How to Clean Car Air Vents and Tight Crevices: A Step-by-Step Guide
Stock up on genuine Belibuy Washable Replacement HEPA Filters to eliminate detailing downtime while washed filters dry.
Keep your equipment in top condition so it is ready for your next vehicle or workspace clean-up.