How to Clean Car Console Buttons: Safe 3-Phase Dust & Crumb Removal
Follow the 3-phase rule: dislodge trapped crumbs using a 0.1mm ultra-soft synthetic detail brush, extract them instantly with a 19,000Pa micro-crevice vacuum nozzle held 0.5 inches (12mm) above seams, and sanitize button faces using a microfiber cloth lightly dampened with 70% isopropyl alcohol.
Key Takeaways for Safe Button Cleaning
- 19,000Pa suction power extracts debris down to 0.3 microns without physical contact with sensitive electronic contact pads.
- 50,000 RPM air duster mode dislodges dry particles from hairline crevices under 0.5mm wide.
- 70% isopropyl alcohol applied strictly to microfiber cloths prevents liquid seepage into printed circuit boards (PCBs).
- Never spray liquid cleaners directly onto automotive switchgear or climate control modules.
- Ultra-lightweight 0.81 lbs cordless vacuums reduce wrist strain when maneuvering at strict 45-degree angles.
- 19,000Pa Suction Required: High static suction lifts dense particles down to 0.3 microns without needing direct nozzle pressure against delicate keycaps.
- 50,000 RPM Kinetic Air Blast: Dislodges stubborn particles trapped in sub-millimeter gaps (<0.5mm) faster than wiping.
- Strict 70% IPA Solvent Limit: Never spray liquids directly onto switchgear; apply solvent only to microfiber towels to prevent circuit board shorts.
- Ultra-Lightweight Handling: Using an 0.81 lbs cordless vacuum allows precise 45-degree angle maneuvering without wrist fatigue.
- Dry-First Protocol: Always complete dry agitation and vacuum extraction before applying any liquid sanitizing solution.
Button Gap & Airflow Specification Matrix
Photo by Khunkorn Laowisit on Pexels
| Parameter | Target Specification | Tolerance / Limit | Functional Impact |
| --- | --- | --- | --- |
| Console Seam Gap Width | 0.2mm to 0.5mm | Max 1.5mm | Determines micro-nozzle vs air duster selection |
| Vacuum Extraction Power | 19,000 Pa | Min 15,000 Pa | Lifts dense food particles out of switch wells |
| Motor Airflow Speed | 50,000 RPM | Min 40,000 RPM | Generates focused kinetic air movement in tight gaps |
| Filter Filtration Efficiency | 0.3 Microns (HEPA) | 99.97% Efficiency | Prevents recirculating micro-dust back into cabin |
| Detail Brush Bristle Diameter | 0.1 mm | Max 0.15 mm | Agitates debris without micro-scratching piano black trim |
| Cleaning Solvent Concentration | 70% Isopropyl Alcohol | Max 70% IPA | Dissolves oil/sugar while evaporating before reaching PCB |
Review the technical specifications for automotive console gaps, vacuum pressure thresholds, and brush tolerances required for safe electronics cleaning.
3-Phase Console Button Cleaning Protocol
The diagram below illustrates the exact mechanical sequence for dislodging, extracting, and sanitizing console switchgear.
Console Crevice Detail Photo Guide
Visual reference guide showing proper tool orientation, nozzle spacing, and liquid safety boundaries.
Pre-Cleaning Safety & Tool Checklist
- Vehicle ignition turned OFF and key fob removed 10ft away to prevent accidental button activation.
- 0.1mm ultra-soft boar hair or synthetic detail brush inspected for loose bristles.
- Cordless vacuum charged to 100% (green light indicator) for full 19,000Pa suction power.
- Micro-crevice nozzle and brush adapter securely locked onto vacuum inlet.
- 70% Isopropyl alcohol bottle and lint-free microfiber cloth prepared (no direct spraying allowed).
Pro Tip: Simultaneous Blow-and-Vacuum Method
When dealing with tight 0.3mm button gaps, blowing air alone can push particles deeper under switch housings. Pair a 50,000 RPM air duster directed at a 45-degree angle with a 19,000Pa micro-vacuum nozzle positioned 0.5 inches directly above the seam. The kinetic air blast lifts the trapped crumb out of the switch well, and the high negative pressure immediately captures it before it can resettle or drop into the underlying circuit board.
Initial Decision & Immediate Workflow
Your decision: Determine if your button issue is dry dust buildup or stuck/sticky switch operation.
Do this next: Turn off vehicle ignition, attach the micro-crevice nozzle to your 19,000Pa cordless vacuum, and execute Phase 1 dry dusting before applying any damp cloth.
Related resource: Download our printable Car Interior Electronics Safety Checklist (PDF).Use the Belibuy 6-in-1 Handheld Cordless Vacuum equipped with the micro-brush and crevice attachment for 19,000Pa extraction power.
Assess your vehicle's console condition to choose the appropriate cleaning protocol.
Method Selector: Dry Dusting vs. Liquid Sanitize vs. Disassembly
Choose your console cleaning method based on whether the contamination is dry dust/crumbs or sticky liquid residue.
Best choice for
- Air Duster + Micro-Crevice Vacuum Combination — Air dusting at 50,000 RPM dislodges trapped particles without liquid risk, while 19,000Pa vacuuming captures airborne dust immediately.
- 99% Isopropyl Alcohol on Precision Micro-Swab + Vacuum Extraction — Fast-evaporating solvent dissolves sugar without leaving conductive water behind to short internal switch contacts.
- Spraying any liquid cleaner, APC, or glass cleaner directly onto the console interface.
- Using metal toothpicks, razor blades, or paperclips that scratch plastic and conduct electricity into circuit boards.
- Detailing Cleaning Gel / Putty — Useful for surface dust, but can snap off and leave soft gel residue trapped inside tight button crevices under high ambient heat.
Recommended Cleaning Equipment for Electronics
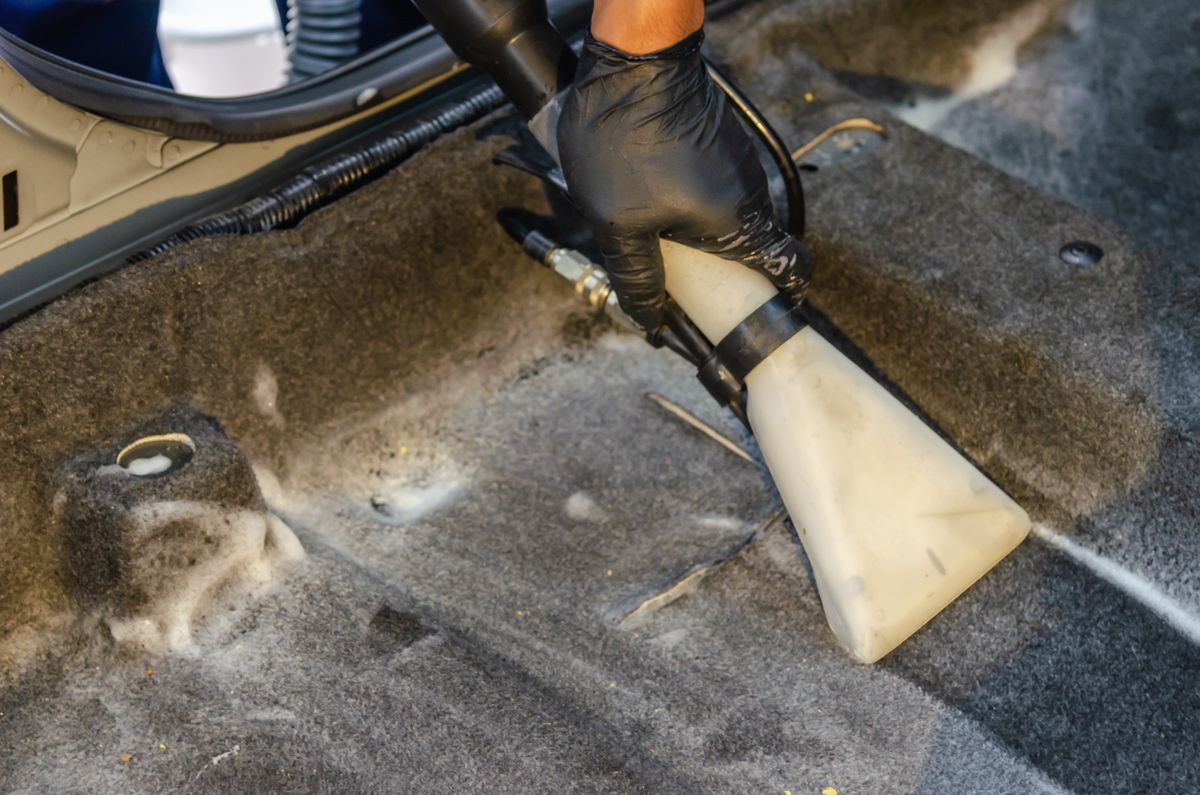
Photo by Khunkorn Laowisit on Pexels
For detailed automotive console cleaning, high static pressure and low tool weight are critical to extract debris safely without scratching glossy piano black surfaces.
Automotive center consoles represent one of the most mechanically vulnerable electronic environments in a vehicle. Hairline gaps surrounding HVAC controls, drive mode selectors, and media buttons range between 0.2mm and 0.5mm in width. Beneath these plastic keycaps lie elastomeric membrane switches and printed circuit boards (PCBs). When snack crumbs, pet hair, or spilled liquids fall into these seams, traditional cleaning attempts often push debris deeper or cause electrical short circuits.
The Physics of Button Crevice Contamination
When a food particle—such as a 1.0mm pastry crumb—is pressed into a 0.3mm button seam during normal key activation, it becomes wedged between the outer trim housing and the inner key guide shaft. Simply wiping over the console with a damp cloth creates three problems:
To prevent these issues, professional detailers rely on a strict 3-Phase Method: Dislodge, Extract, and Sanitize.
---
Phase 1: Dry Dislodging (Agitation)
Never apply moisture to a dirty console seam. Always begin with mechanical agitation using ultra-soft tools.
- Tool Selection: Select an ultra-soft detail brush with synthetic or boar hair bristles measured at 0.1mm diameter. Ensure the ferrule (the sleeve holding the bristles) is plastic rather than metal to prevent accidental scratches.
- Agitation Angle: Hold the brush at a 45-degree angle relative to the button face. Sweep gently along the seam in short, outward strokes. Avoid pushing bristles straight down into the crevice.
- Air Dusting Integration: If particles remain stuck, activate a high-velocity air duster operating at 50,000 RPM. Direct the narrow air jet across the top of the seam at an acute angle to create a low-pressure vortex that lifts dust out of the gap.
Phase 2: High-Suction Extraction
Dislodged particles must be captured immediately before they settle into adjacent switches or air vents.
- Vacuum Attachment: Fit your vacuum with a micro-crevice adapter or narrow brush nozzle.
- Suction Threshold: Operating at 19,000Pa suction power generates sufficient negative air velocity to pull 0.3-micron particles and heavy sand grains out of deep wells without requiring physical contact between the nozzle tip and the console plastic.
- Nozzle Distance Rule: Hold the micro-crevice nozzle approximately 0.5 inches (12mm) above the button seam. Maintain a steady sweep parallel to the brush strokes executed in Phase 1.
- Filtration Check: Ensure the vacuum uses a clean, washable HEPA filter to prevent fine particulate matter from exhausting back into the vehicle cabin air.
Phase 3: Controlled Sanitization
Once all dry particulate matter is extracted, sanitize the keycap surfaces to remove skin oils, sugar residues, and bacteria.
- Solvent Dilution: Use 70% Isopropyl Alcohol (IPA) mixed with distilled water. 70% IPA provides effective degreasing and rapid evaporation while remaining safe for factory-printed button icons.
- The Dampness Test: Spray the 70% IPA solution onto a 300 GSM microfiber cloth. Fold the cloth and squeeze it tightly. If any liquid drops can be wrung out, the cloth is too wet. The fabric must feel barely cool to the touch.
- Surface Wipe: Wrap the micro-dampened cloth over your fingertip or a soft plastic trim tool. Wipe only the raised faces of the buttons. Do not push liquid-bearing cloth edges down into the 0.3mm gaps.
Handling Emergency Sticky Soda and Coffee Spills
If a sugary beverage has leaked into the console and dried into a hard, sticky glue that holds a button down, standard dry dusting will not free the switch. Follow this emergency remediation protocol:
Tool Compatibility vs. Console Gap Width Matrix
| Gap Scenario & Width | Primary Detailing Tool | Recommended Suction / Air Pressure | Liquid Safety Protocol | Risk Factor |
| --- | --- | --- | --- | --- |
| Hairline Button Seams (<0.5mm) | 0.1mm Detail Brush + Micro-Crevice Nozzle | 19,000 Pa Vacuum | 100% Dry Process | Low (Safe for PCBs) |
| HVAC Dial Rings & Switches (0.5mm - 1.5mm) | 50,000 RPM Air Duster + Swab | 50,000 RPM Blow / 19,000Pa Vac | 70% IPA Damp Micro-Swab | Moderate (Avoid over-saturation) |
| Center Console & Shifter Trim (>1.5mm) | Soft Brush + Wide Crevice Attachment | 19,000 Pa Vacuum | Damp Microfiber Wipe | Low (Surface only) |
| Sticky Soda Spill Under Buttons | 99% IPA Precision Micro-Swab + Micro-Nozzle | 19,000 Pa Vacuum Extraction | 99% Fast-Evaporating IPA Only | High (Requires ignition off) |
Compare detailing tools across specific console gap scenarios to maximize cleaning efficacy and eliminate electronic damage risks.
4 Critical Mistakes That Short Circuit Car Electronics
Avoid these four common interior cleaning errors that cause costly electronic module failures and ruined dashboard finishes.
Related Dashboard & Crevice Detailing Guides
Explore these specialized guides to master vehicle interior maintenance and electronic safety:
- Air Duster vs. Car Vacuum for Vents and Crevices: Which Works Best?
- How to Clean Car Infotainment Screens and Gauge Clusters Without Scratching
- Best Handheld Vacuums for Car Crevices and AC Vents: Buyer’s Guide
Frequently Asked Questions About Car Console Cleaning
Answers to common questions regarding sticky car buttons, isopropyl alcohol safety, and crevice dusting.
Final Implementation Checklist & Recommended Tools
Your decision: Select the Belibuy 6-in-1 Handheld Cordless Vacuum to start restoring your car console today.
Do this next: Equip your vehicle with a 19,000Pa cordless vacuum and micro-detail brush kit to handle both dry crumbs and emergency spills safely.
Related resource: Download our printable Car Interior Electronics Safety Checklist (PDF).Equip your detailing kit with the Belibuy 6-in-1 Handheld Cordless Vacuum today to extract console crumbs with 19,000Pa precision.
Equip your car detailing kit with high-suction, lightweight tools designed specifically for electronic console maintenance.
Cover photo by Tima Miroshnichenko on Pexels.