
How to Clean Mechanical Keyboard Crumbs: Step-by-Step
Accumulating crumbs under your mechanical keycaps can hinder key press feel and cause sticky switches. In [the main guide], we outline general maintenance strategies, but this step-by-step walkthrough gives you the exact process to clear debris safely.
Step 1: Disconnect and Unplug Your Keyboard
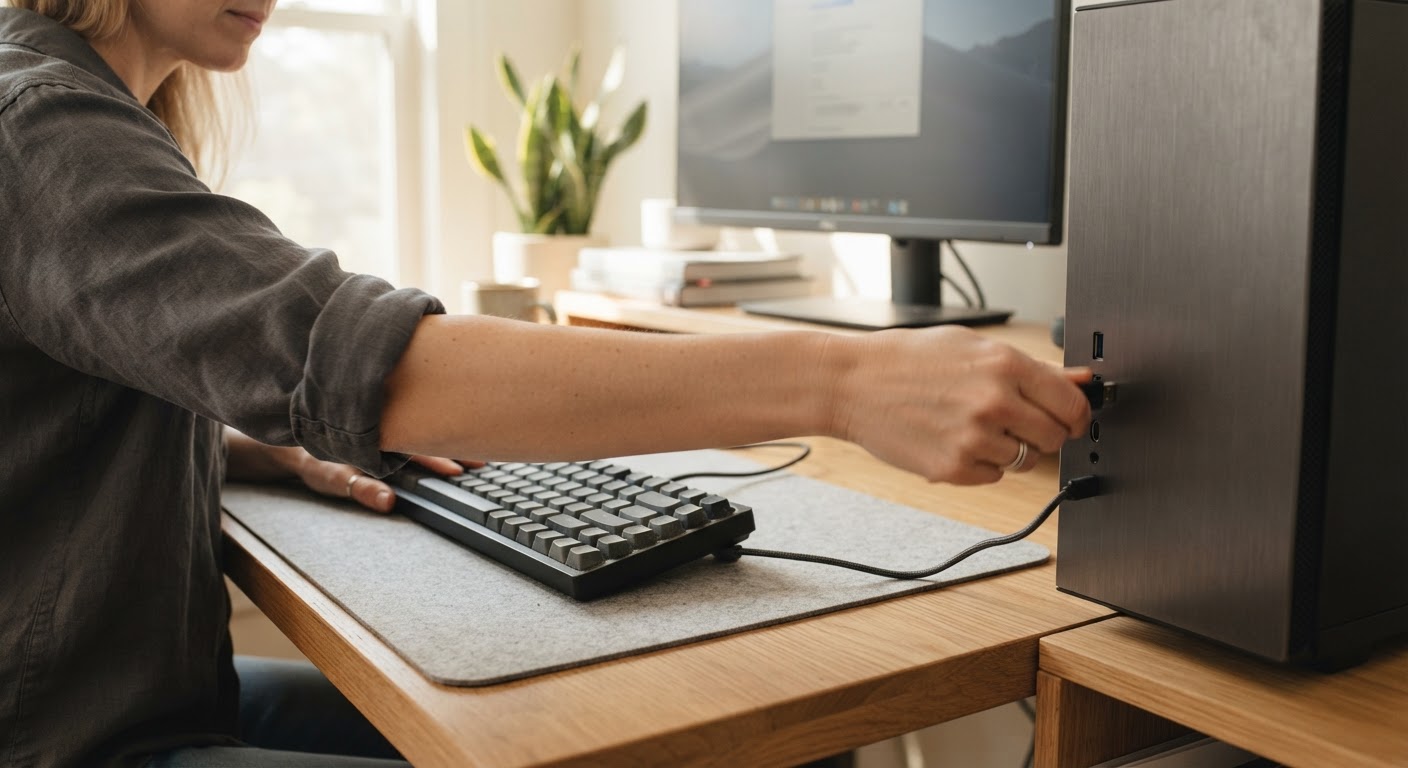
Always turn off or unplug your keyboard before cleaning. This prevents unintended keystrokes and protects internal circuitry from static discharge or accidental short circuits during handling.
Step 2: Invert and Gently Tap Loose Debris
Turn the keyboard upside down over a trash bin. Gently tap the back of the case to dislodge heavy, loose crumbs stuck directly underneath keycap edges.
Step 3: Apply Concentrated Suction or Air Flow
Use a multi-purpose cleaning tool with a 50,000 RPM motor to pull or blow trapped dust out from around the key stem housings. The 19000Pa suction power easily lifts particles trapped in deep channels.
Step 4: Clean Between Keycaps with a Narrow Nozzle
Attach a narrow nozzle attachment onto your cleaning device. Move carefully along each row of keys to collect remaining micro-particles down to 0.3 microns. Utilizing a cordless design weighing ultra-lightweight (0.81 lbs) makes navigating narrow key rows comfortable.
Step 5: Wipe Down and Reconnect
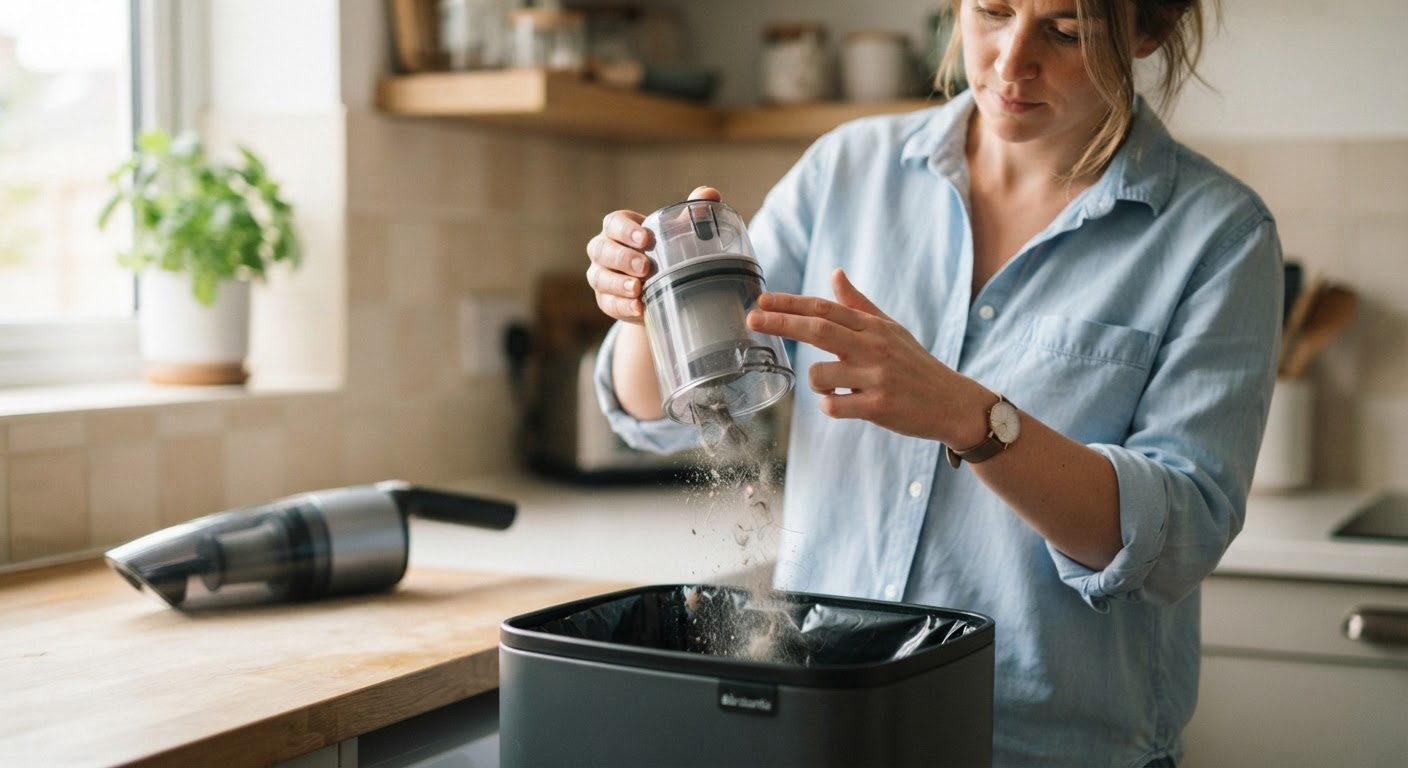
Finish by wiping the top of the keycaps with a dry microfiber cloth. Inspect your clear see-through dirt bin to confirm debris was captured, empty it, and reconnect your mechanical keyboard.
Read the full guide: Ultimate Guide to Mechanical Keyboard Cleaning and Maintenance